How to launch my campaign
Creating a campaign is a quick and easy process with Chuffed.
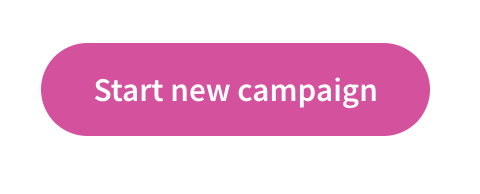
There are two ways to create a campaign, if you have a Chuffed account you can start by selecting the “Start a new campaign” on the top of your dashboard.
If you do not have an account you can start by selecting the “Get Funding” button on the top right or bottom of the site.

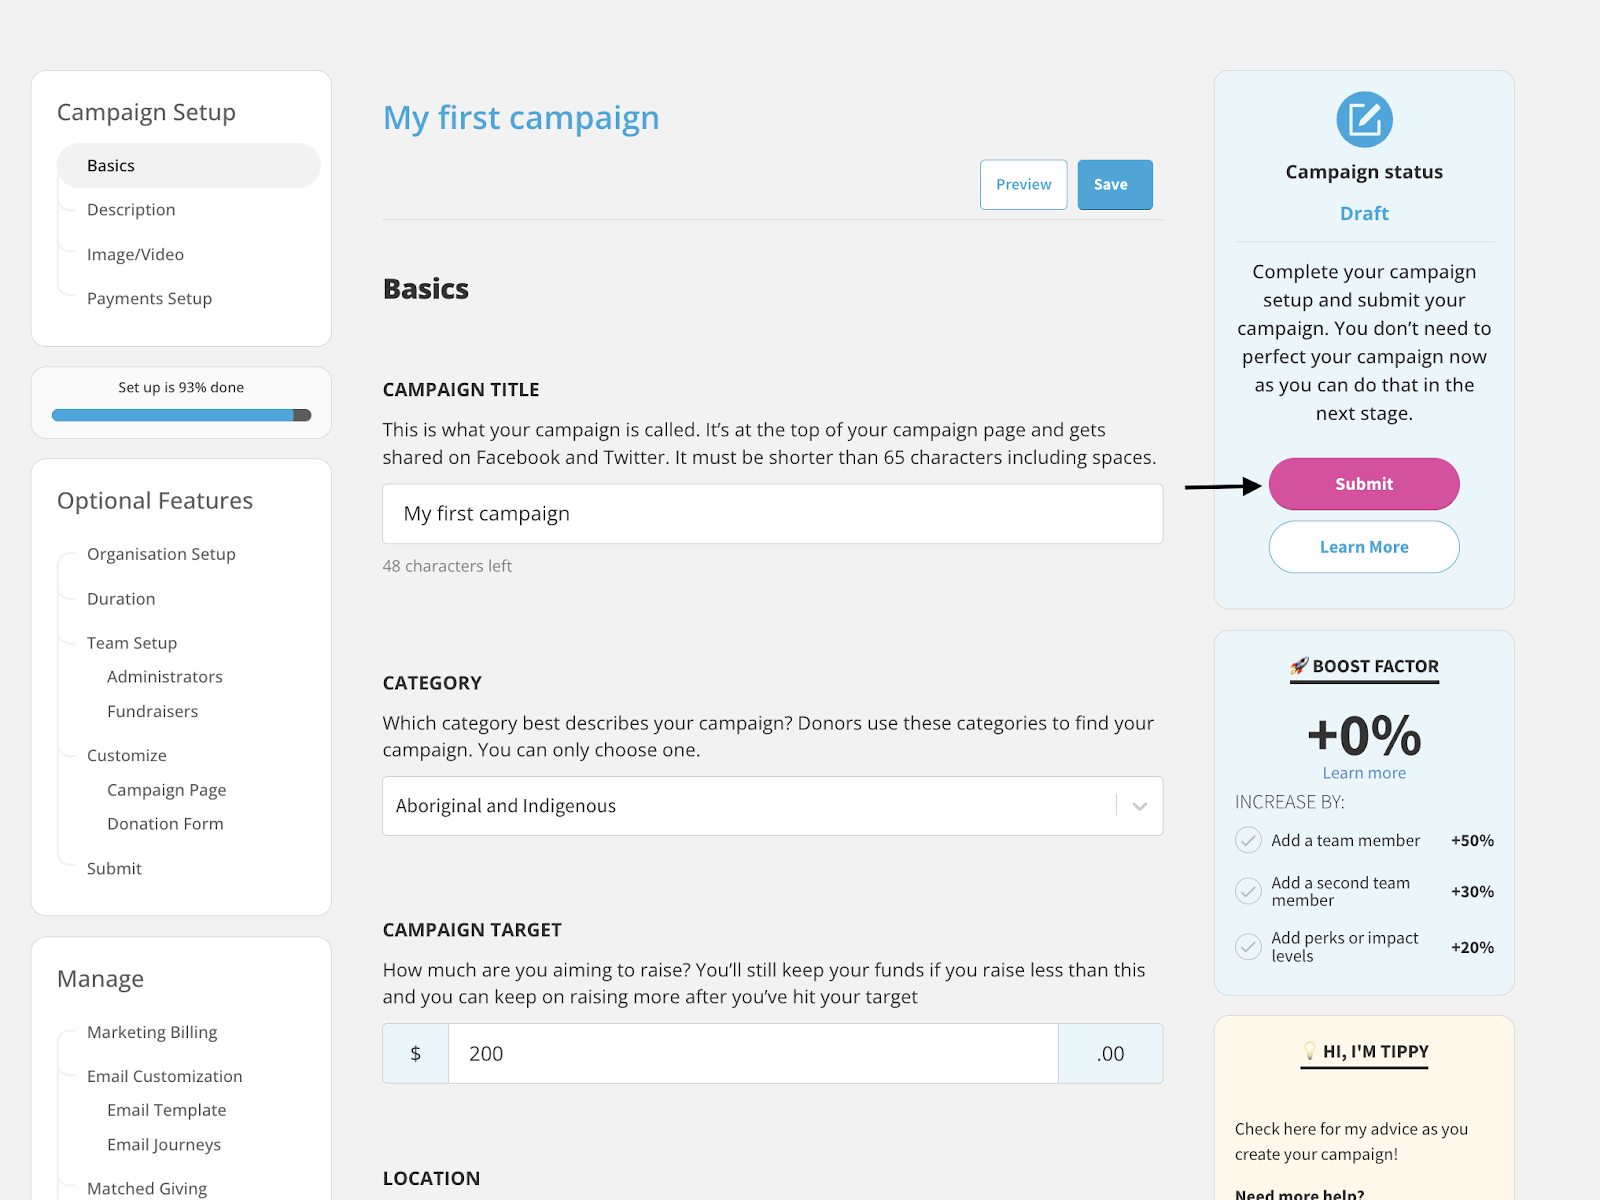
Once you click on either of these options, you will be prompted to fill out the details of your campaign. After you complete the campaign description and select the “Create Campaign” button your campaign will go into “Draft mode”, allowing you to add more information and edit later on if you wish.
At this stage, you will be prompted to set up payment for your campaign. Take time to read through our support documents regarding payments here. Once you have created your campaign, you can find it within your Chuffed dashboard. If you do not have a Chuffed account, you can create one here.
To submit your campaign for approval, you will need to open your campaign dashboard, select the “Manage” drop-down button, click “Edit” and select the “Submit” button on the right side of the campaign editor.

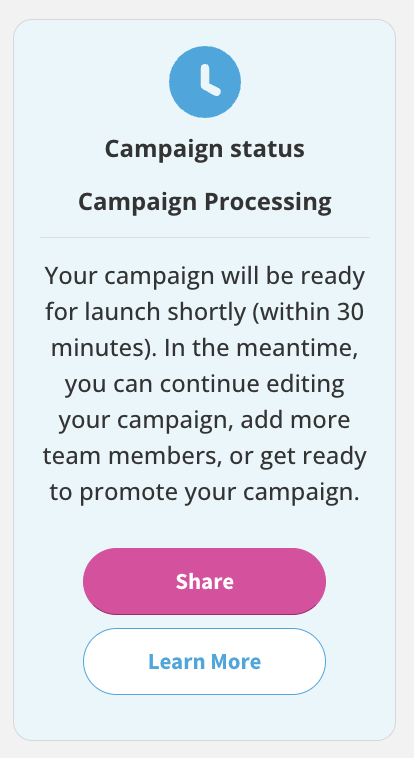
Once you submit it for approval, we will review your campaign and you will receive a confirmation email on the status of your campaign. If your campaign has been approved, you will enter the “pre-launch” phase; for more information about pre-launch, we recommend reading our support document here.
When you are ready to launch your campaign, simply select “Launch” on the right side of the campaign editor page. Once you have launched, your campaign will be visible to all Chuffed donors and searchable on the platform.

If you have followed all of the steps to create your campaign, submit it for approval and launch, and your campaign is not visible on Chuffed, please contact our support team for help at support@chuffed.org